.png)
How do I share my Google Calendar with another Redwood team member?
This guide explains how to share your Google Calendar and control what that person can see and do with your data.
Google Calendar makes it easy for you to collaborate with other people on your schedule.
At Redwood, every person has a Google Calendar. To access your calendar, just go to calendar.google.com and log in using your Redwood Google Workspace account. You can also use Google Calendar on your phone: just load the app from your device’s app store, and log into it using your Redwood Google Workspace account.
When sharing your calendar with others, you are able to choose how much a person (or group of people) can see and do with the information. There are three levels of control:
- See only free/busy (hide details) – This is the most restrictive view; it allows a person to see when you are free and when you are busy, but doesn’t allow them to see any details or have any control over your schedule; this is the default setting at Redwood—everyone with a Redwood Google Workspace account can see when you’re free and when you’re busy (agents and employees alike)
- See all event details – This setting allows people to see the details of your meetings, but it doesn’t allow them to make changes to your schedule
- Make changes to events – This setting allows people to see the details of your meetings, and it allows them to add new meetings to your schedule and even change or remove existing ones
To get to the sharing settings for your Redwood calendar:
First, log into calendar.google.com using your Redwood Google Workspace account.
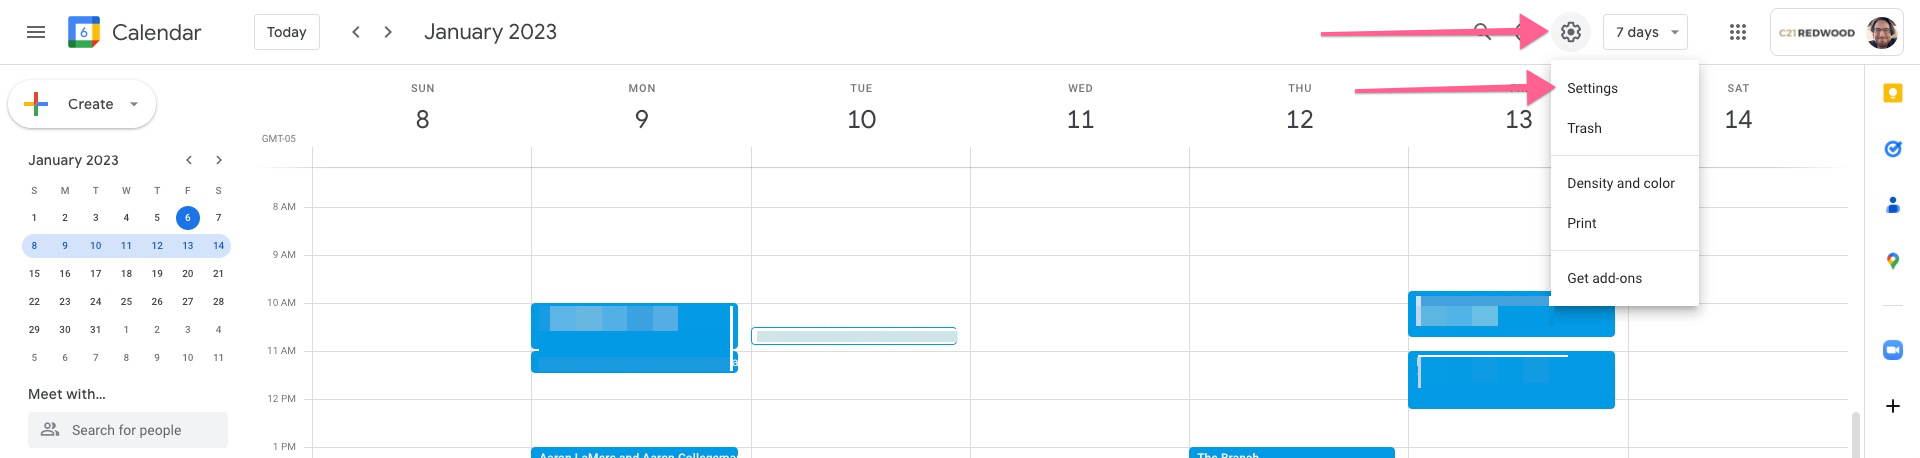
Next, click on the Settings gear and click on Settings:
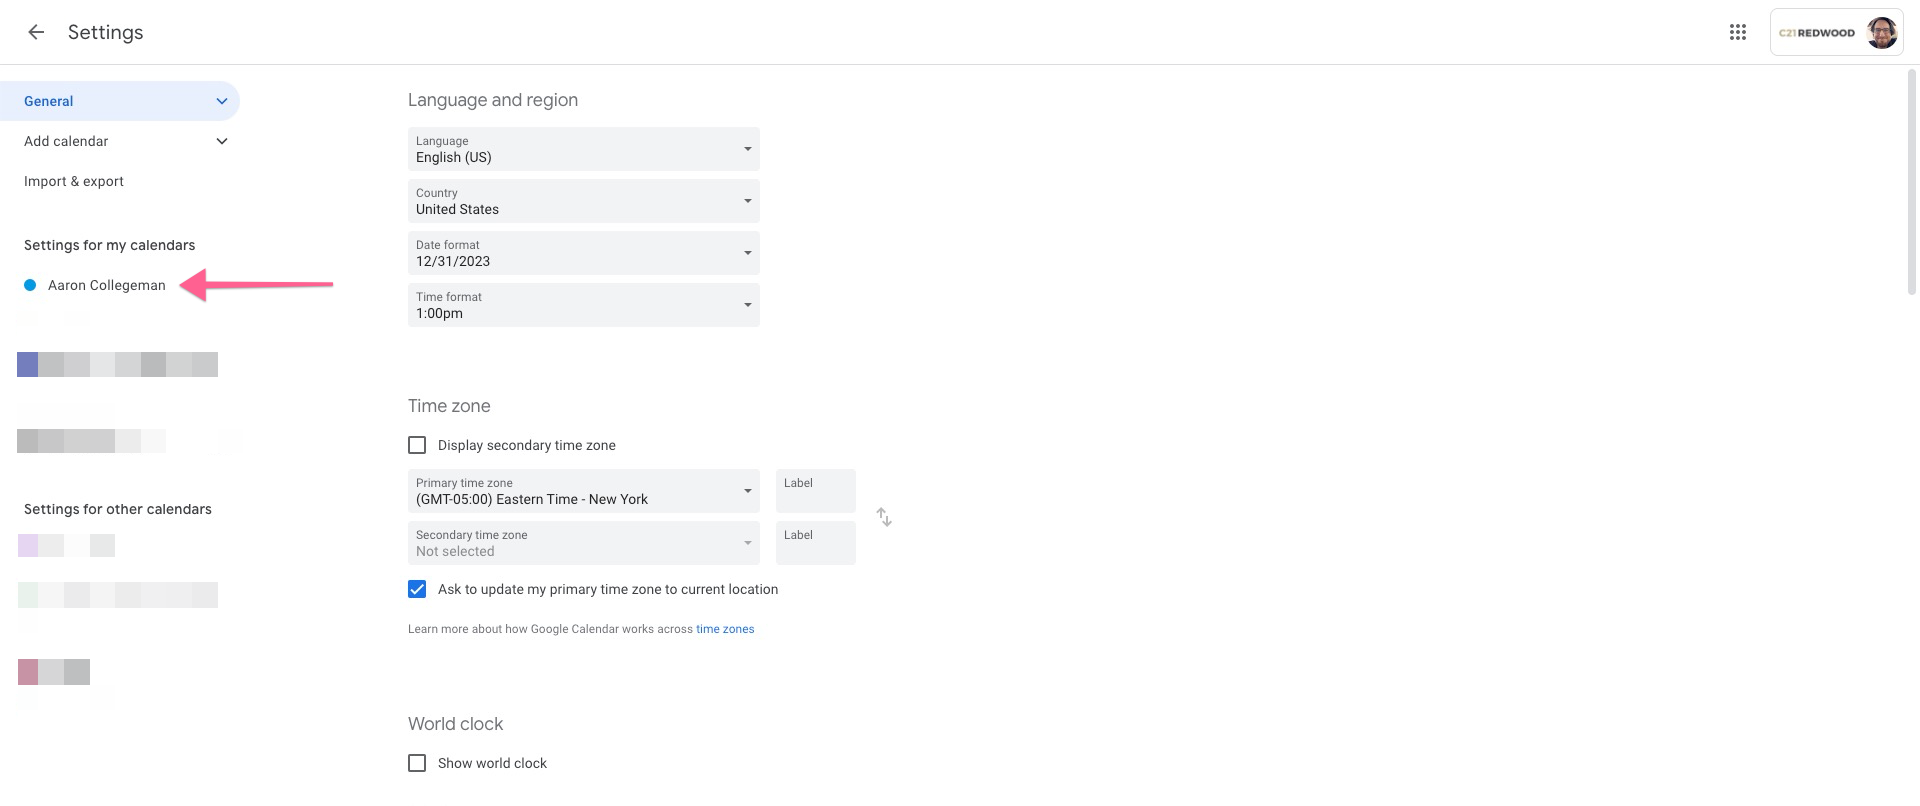
In the sidebar of the settings screen, find your personal calendar and click on it:
Then, scroll to the section titled Share with specific people or groups:
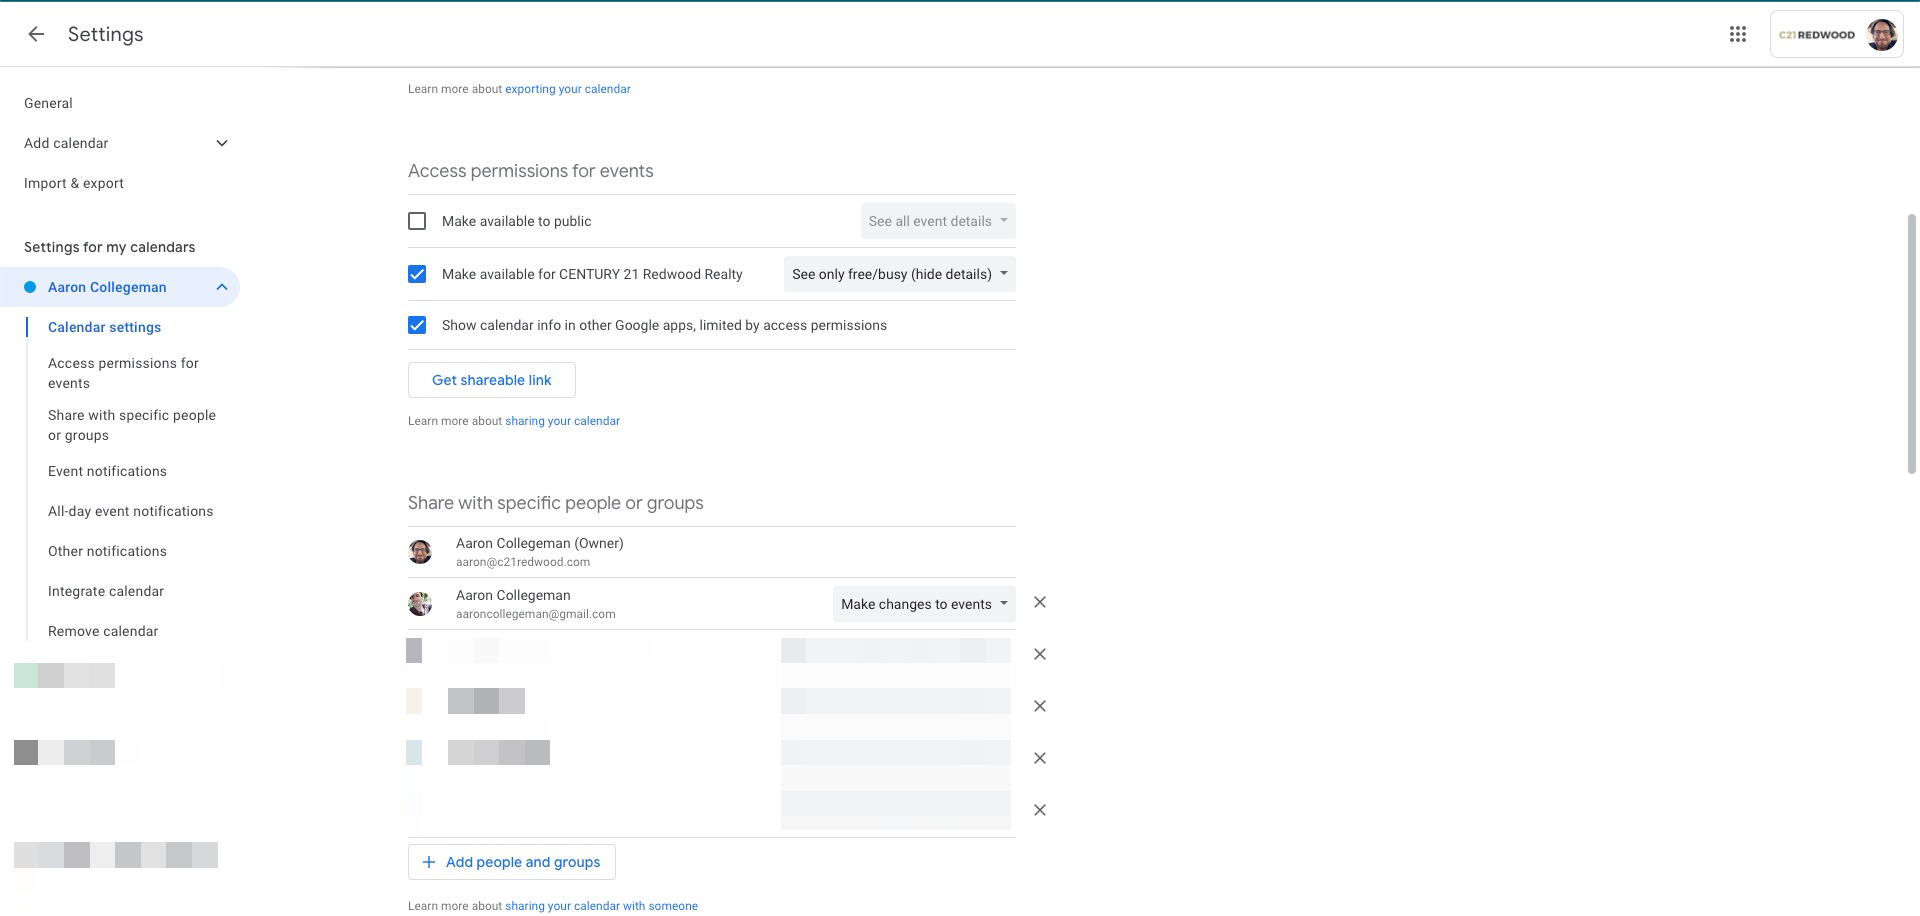
Next, click Add people and groups:
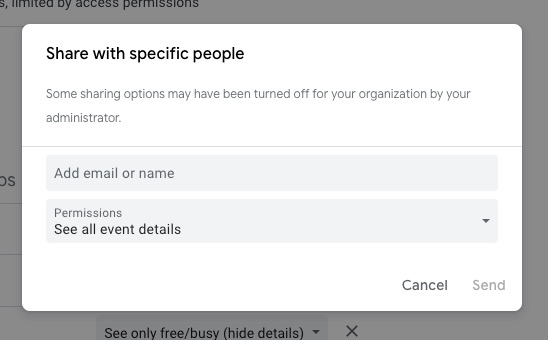
You are allowed to share your calendar with any other person, anywhere. Just type their email address into the blank, choose the appropriate level of access, and then click Send.
The people you are inviting will receive an email similar to the following:
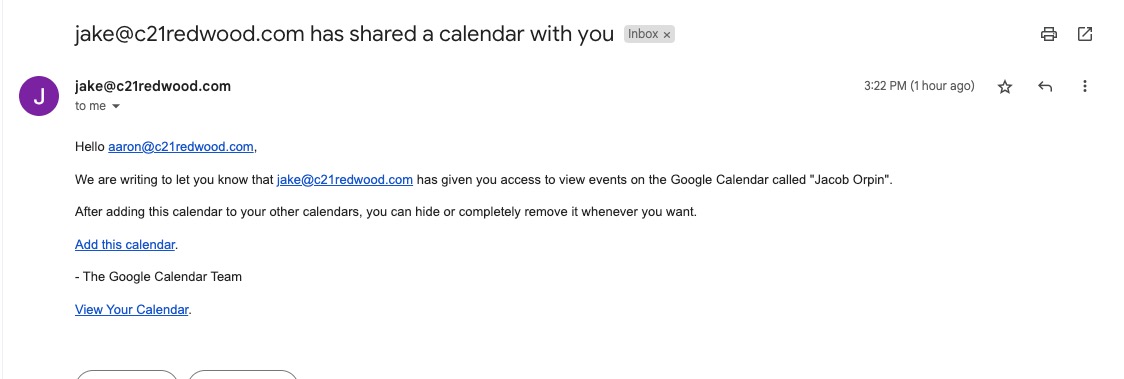
The invited person or group must click the Add this calendar link and then click “OK” on the confirmation box before they will be able to see the details of your calendar.
Alternatively, if you prefer or require a one-size-fits-all approach, you can change access to your calendar for the whole organization. Just scroll up to the section of the settings screen titled Access permissions for events, check the box labeled Make available for CENTURY 21 Redwood Realty, and then choose the level of the detail at which you would like the entire company to be able to see your calendar.