.png)
How do I send a Document to my client for signature using DocuSign?
This guide will teach you how to successfully upload, prepare and send a document to your client for signature electronically using DocuSign.
You have been set up with a DocuSign account to use for sending documents to clients to sign electronically. Follow the steps in this guide to send a document through DocuSign for signature.
Step 1: Open New Envelope
In order to begin the signing process, click “NEW” on the front page of Docusign.

Step 2: Select Send an Envelope
You will then be prompted to select the action you are wishing to create: Select “Send an Envelope” from the drop down menu to send a document for electronic signature.

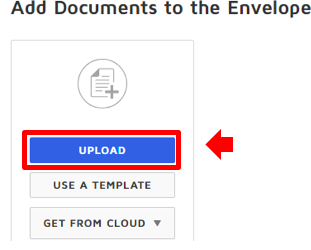
Step 3: Upload the Document to be Signed
You will then be prompted to click “upload” to add a specific document from your desktop.
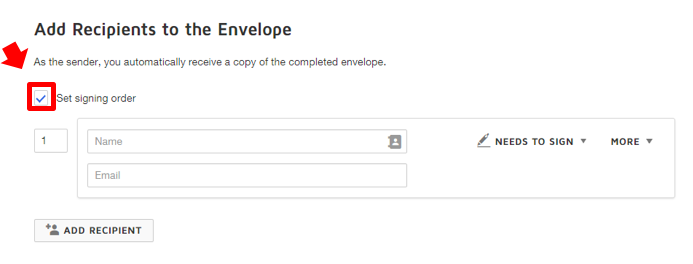
Step 4: Set Signing Order & Add Signers
Once you’ve selected the document, check “Set Signing Order” to add the recipients. Then type in the name and email address of the person you would like to send the document to for signature.
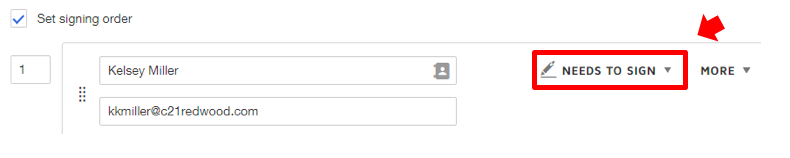
Step 5: Assign Role to Signers
Once you’ve entered in your client’s email address and name, select if you’d like them to sign the document or receive a copy once it’s been signed.
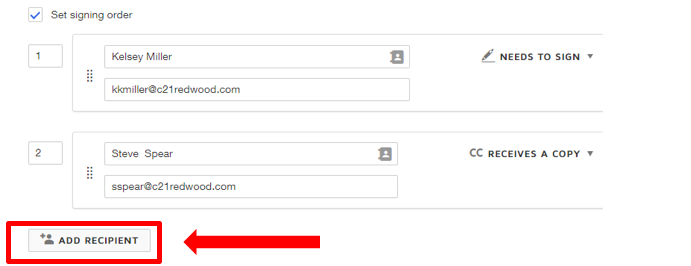
Step 6: Adding Additional Recipients
If you wish to add additional recipients, click the “ADD RECIPIENT”, enter their name, email address and select “Needs to sign” or “Receives a Copy” from the drop down menu.
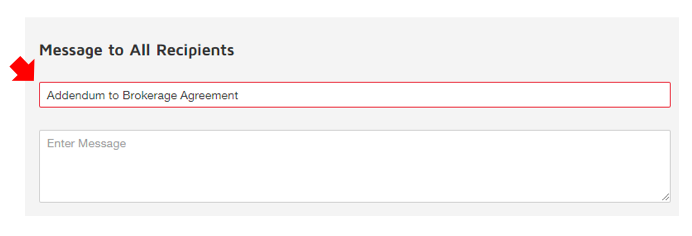
Step 7: Add a Name/Title to your Envelope
Add a Name/ Title for the envelope. You are able to send an email to all of the recipients of the DocuSign by typing your message in the “Message to All Recipients” section. If you need to send an email to just one recipient, select the desired recipient’s name and click “Add” under the “Add a Private Note”.
Step 8: Next
Then select “Next” at the top right-hand side of the page.

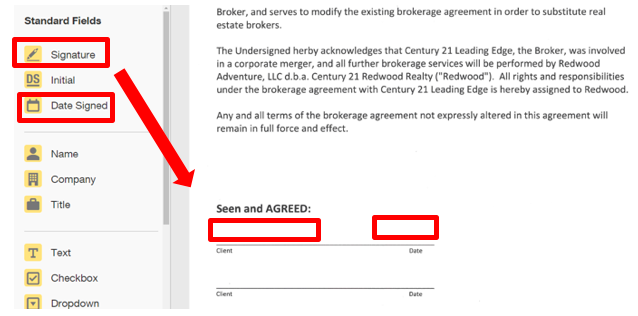
Step 9: Add Signature and Initial Tabs
Your document is now ready to insert tags for your recipients. Click on the type of tag you’d like the recipient to complete and drag it to the desired spot on the page.
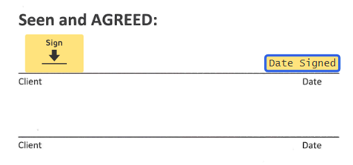
Step 10: Add Signature and Initial Tabs
The recipient will receive a document with spots on the page indicating what action they need to complete. Repeat this step if there are more than 1 recipient whom needs to sign. The recipient cannot sign on the page where there is not a tag.
Step 11: Send Your Document
Once you’ve placed all the needed tags on your document, click “SEND” to send the document to the signer(s). You will receive a copy once they have completed the document.
