.png)
Creating a brochure in Redwood Marketing Studio 2.0
This guide is designed to walk through creating a listing brochure in Redwood Marketing Studio 2.0:
- Our Marketing Studio 2.0 can be found with all of your other apps in accessRedwood.

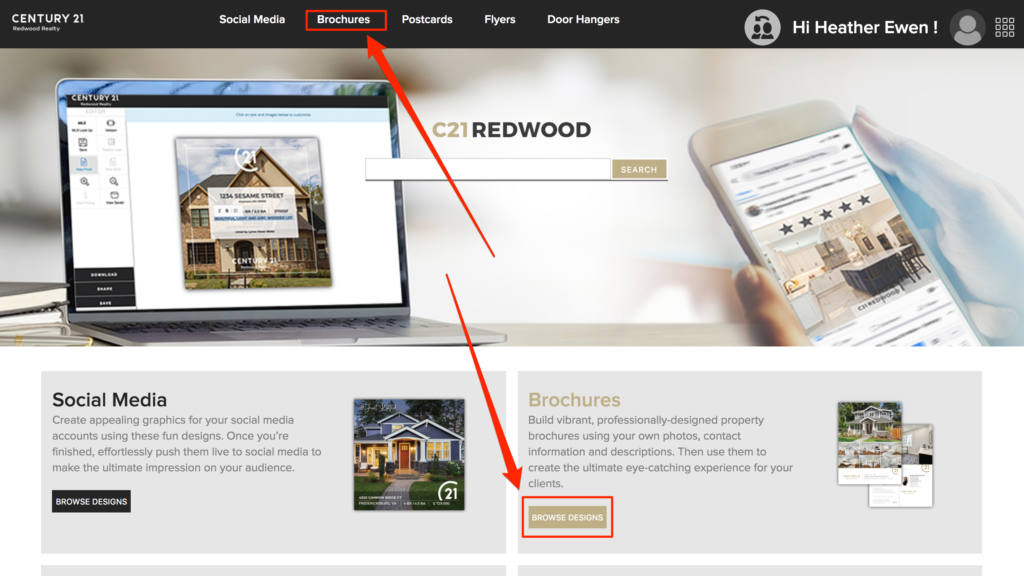
- Click on Brochures in the top bar or click Browse Designs in the bottom tile:
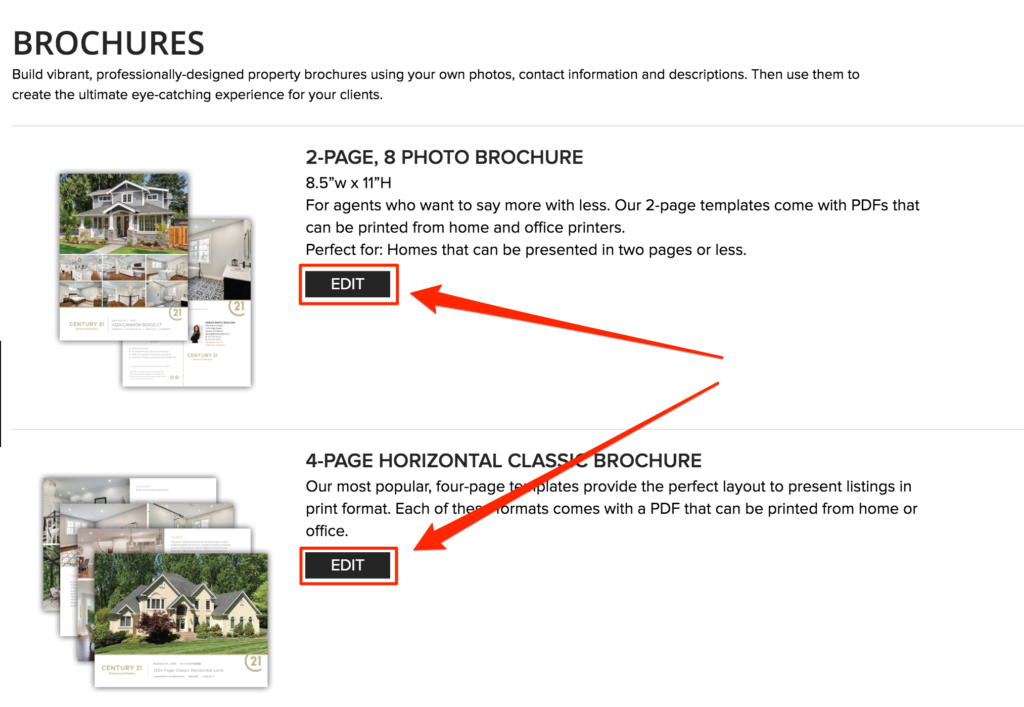
- Select the brochure of your choice by clicking EDIT:
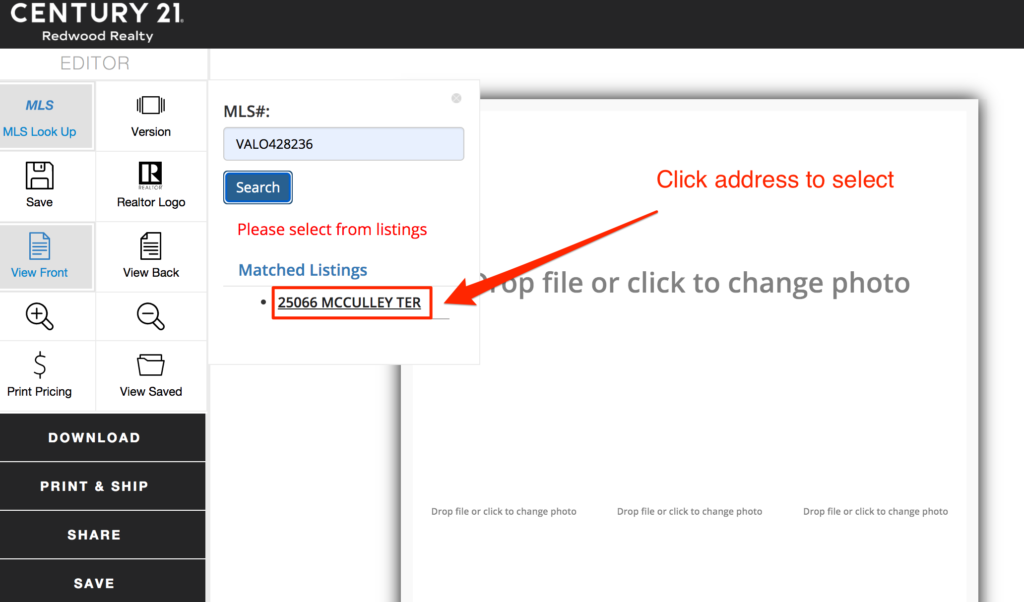
- You can drag an image into the space, or click to browse images on your computer, OR Click on MLS Look Up, paste the MLS # of the property you would like to promote and click on the address when it appears:
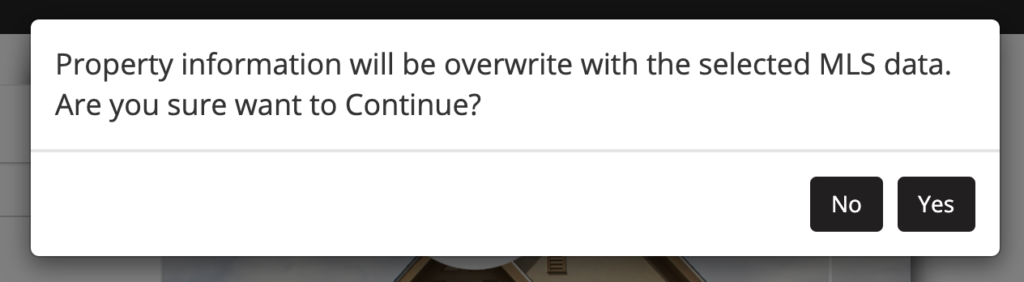
- Click Yes:
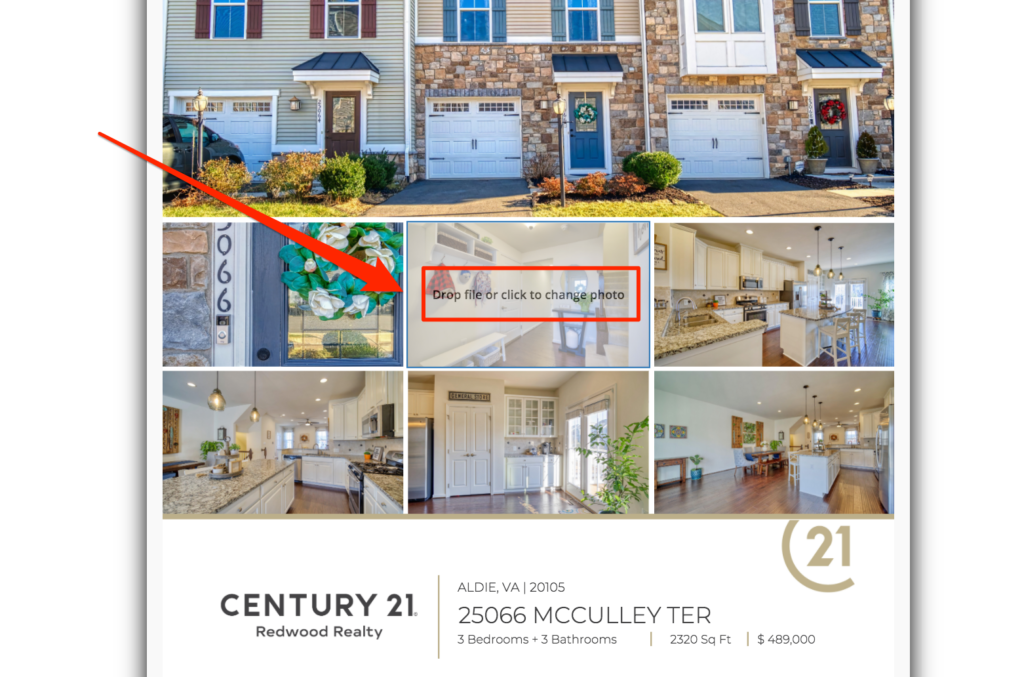
- Photos AND property information will populate into the template. To change the photo, hover over the center of the photo and then click on the grey words that say “Drop file or click to change photo”:
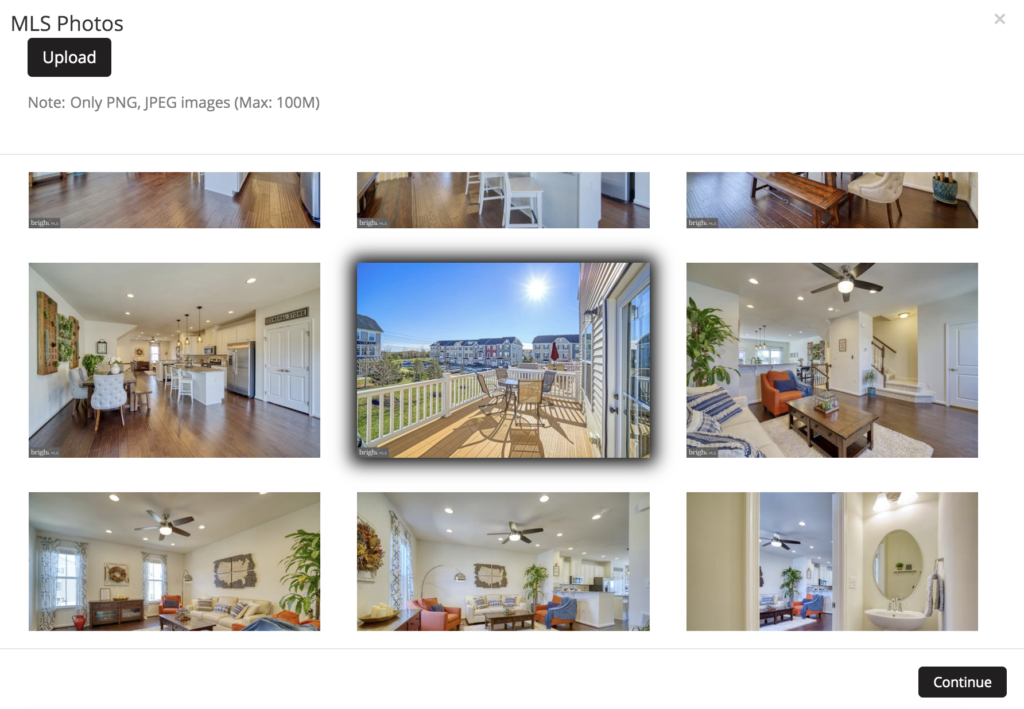
- Select an alternative photo and click continue:
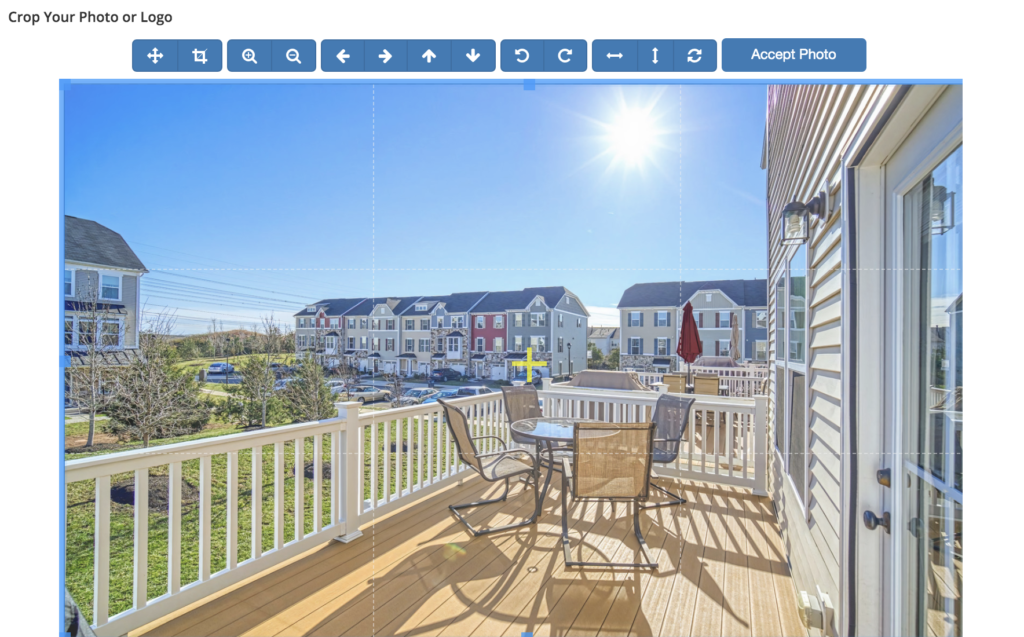
- Adjust photo as needed and click Accept Photo, and then Use this image:
- Click on the text to edit and click on the Logo to change to a different logo:
![]()
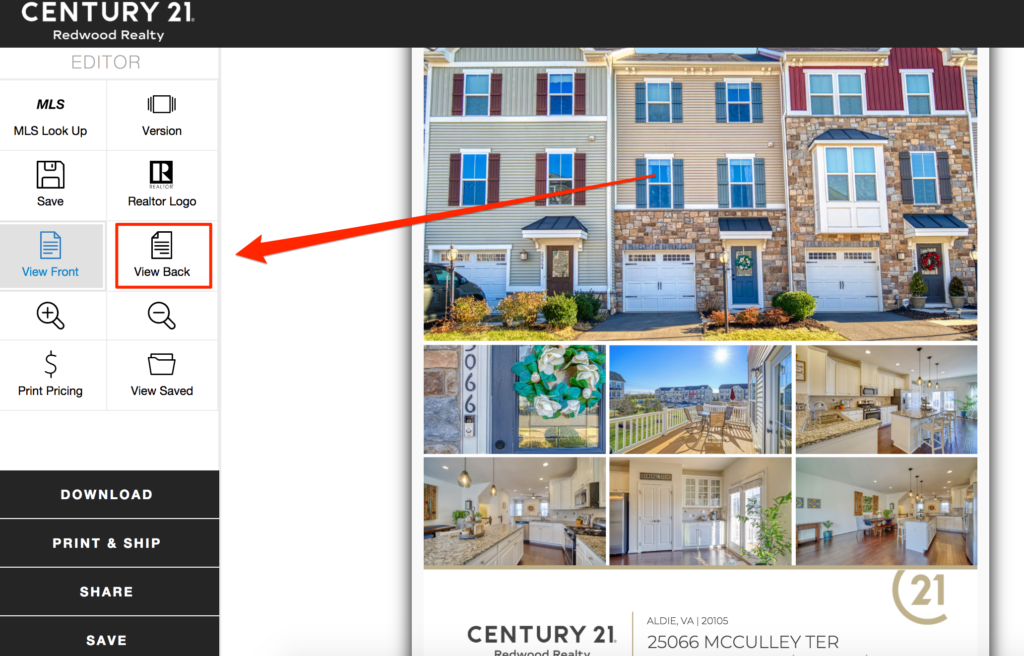
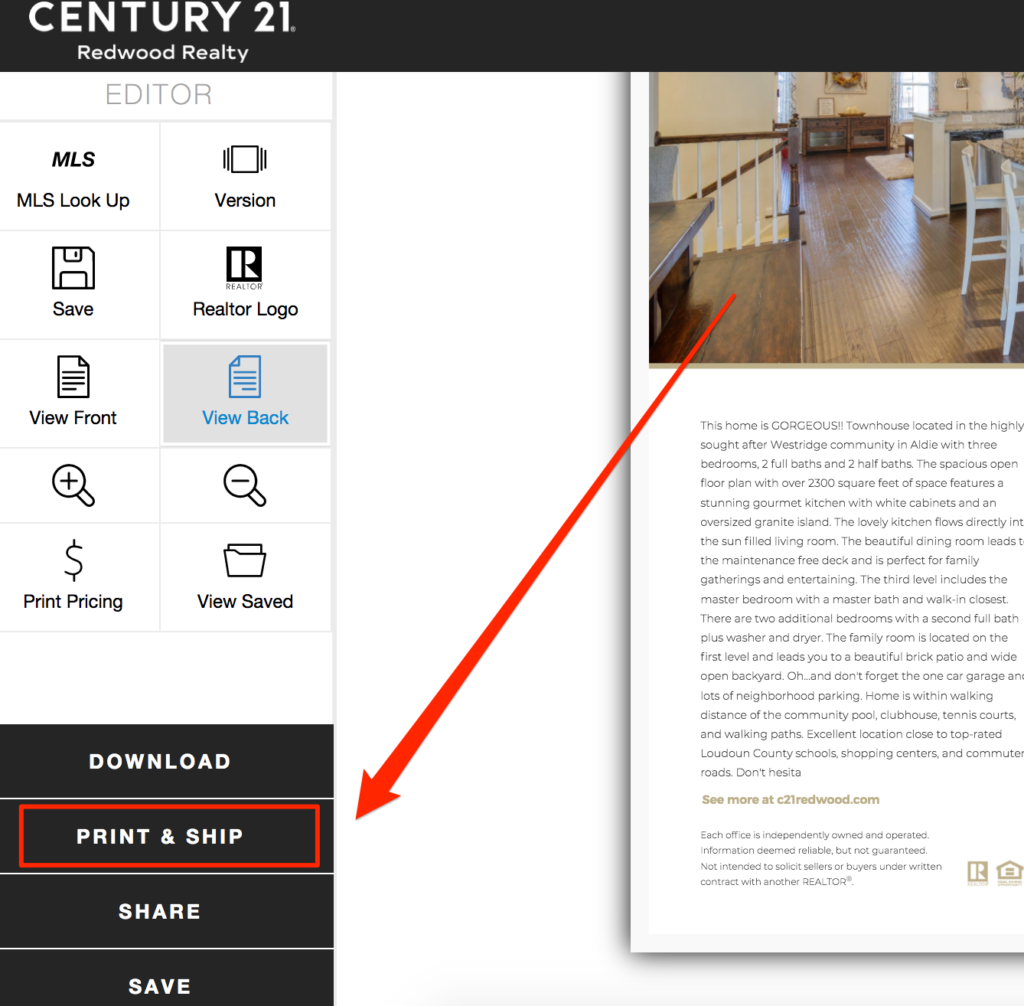
- Click View Back (for a 2-page brochure), or click the next page number for a 4, 6, or 8 page brochure:
- Click into the text box to edit text, and click the logo to change logo:

- Click Print & Ship to place your order:
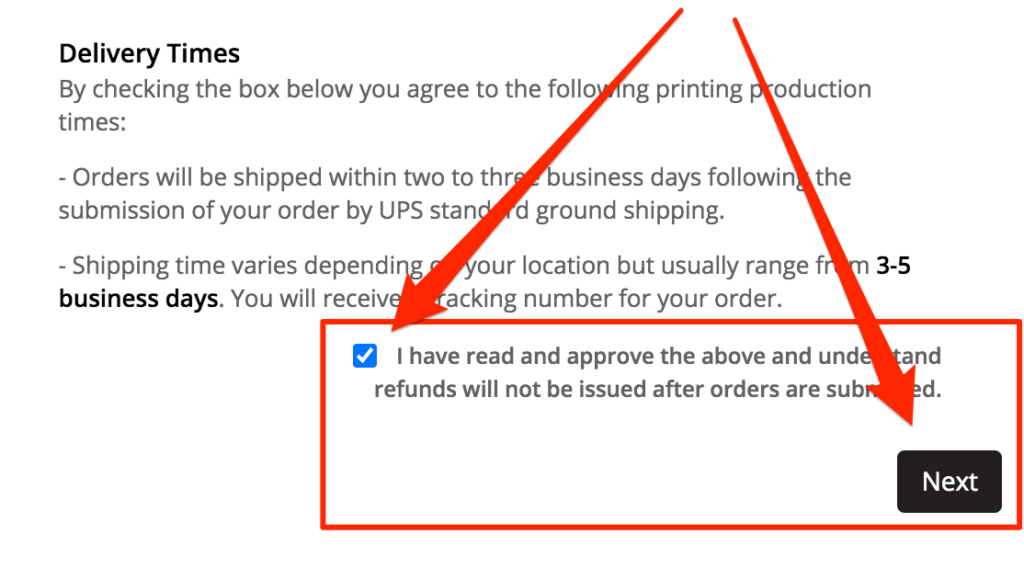
- Review your project, click the box to accept terms, and click Next:
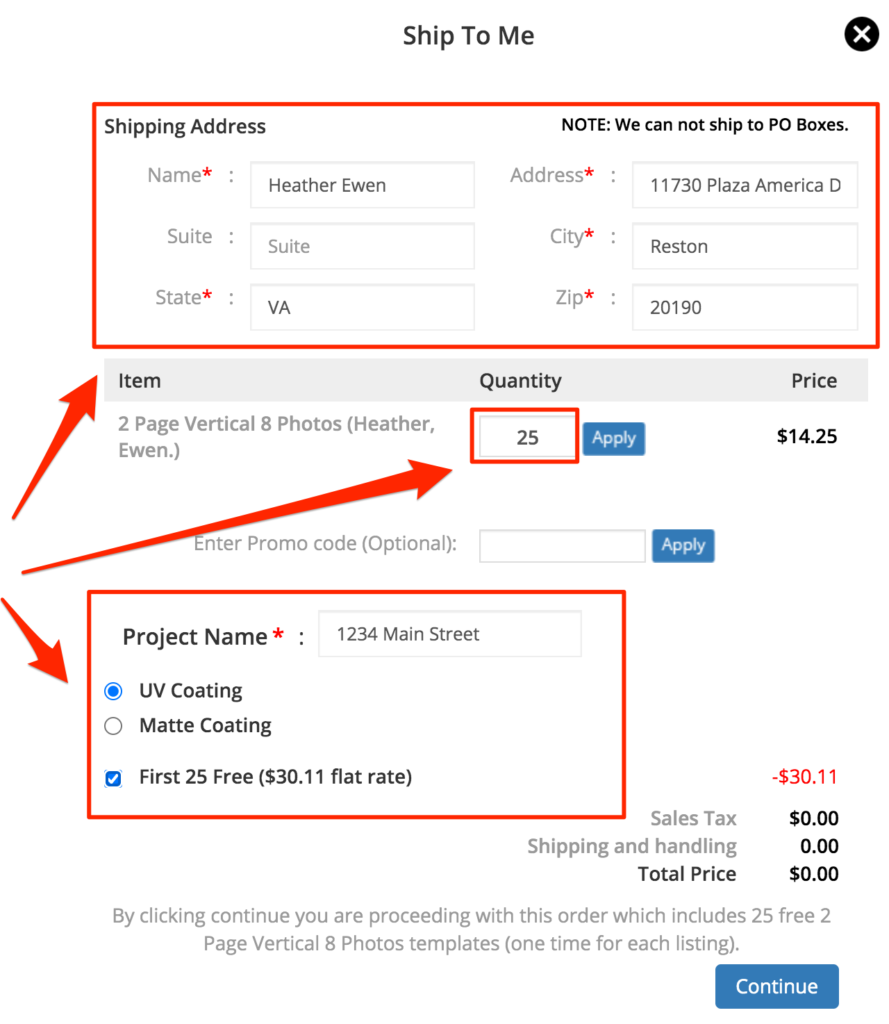
- Confirm your shipping address, select your quantity, enter your project name, select UV/Matte, select 25 free (for Sale Listing ONLY), and click Continue.
IMPORTANT NOTE: The 25 Free Brochure option should ONLY be selected for Sale Listings.
Questions? Please contact 1-866-936-1009 or marketingstudiohelp@c21redwood.com