.png)
Creating a social graphic with Redwood Social Graphics tool (Marketing Studio 2.0)
This guide is designed to walk agents through creating social graphics on Redwood's Social Graphics tool.
This guide will walk you through creating a social graphic on our Redwood Social Graphics Tool.
-
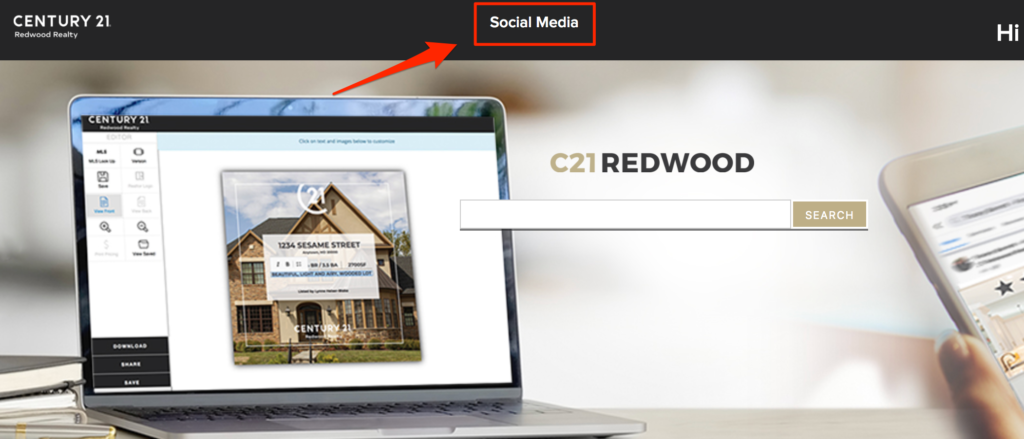
Our Marketing Studio 2.0 can be found with all of your other apps in accessRedwood.

- Click on social media in the top left

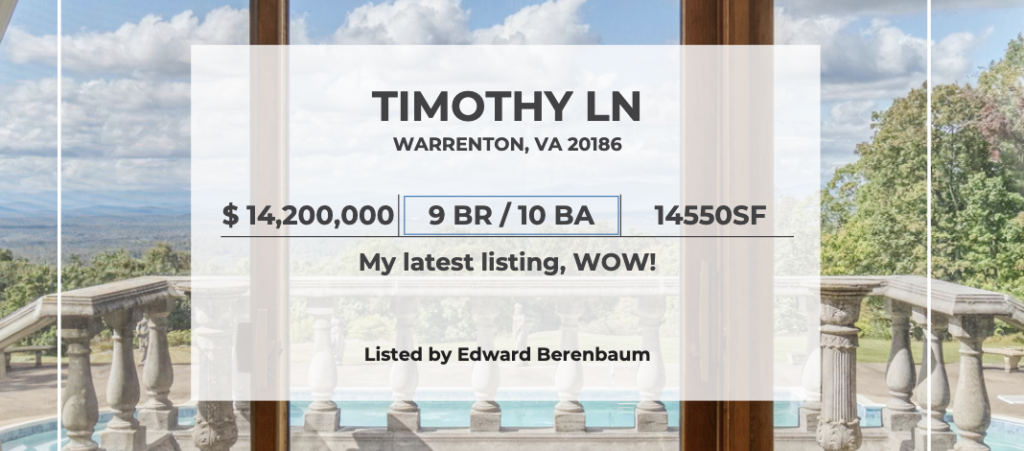
3. Select the social graphic of your choice
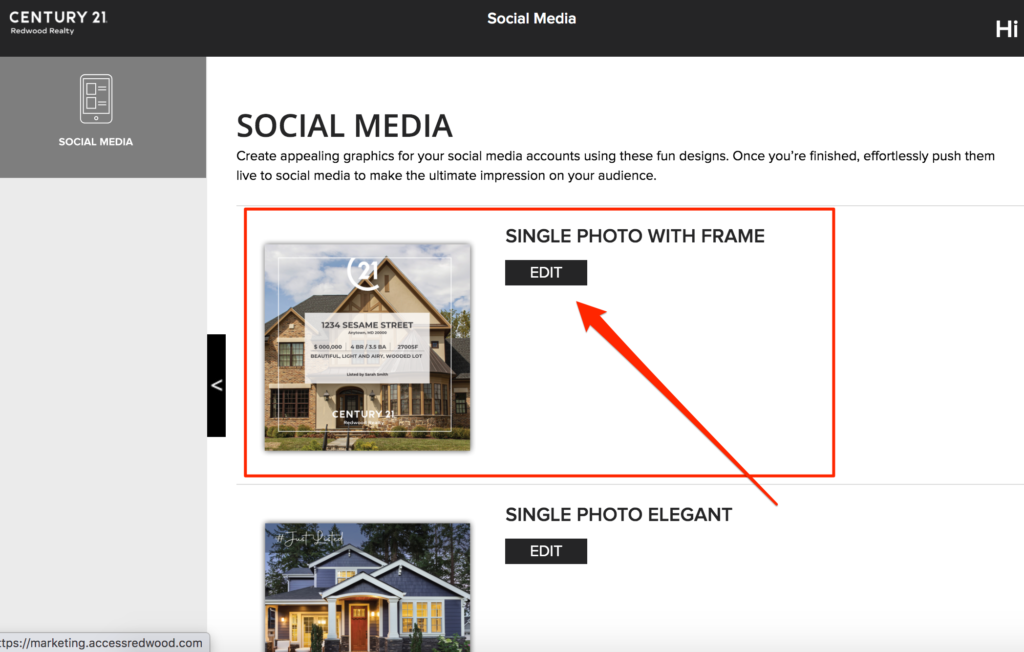
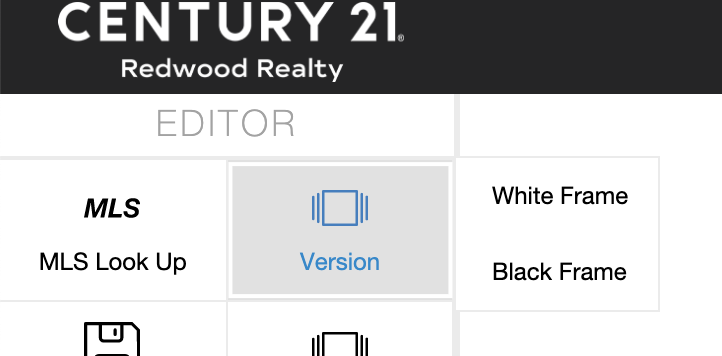
** note: some social graphics have 2 versions
4. Click on MLS Look Up, paste the MLS # of the property you would like to promote and click on the address when it appears
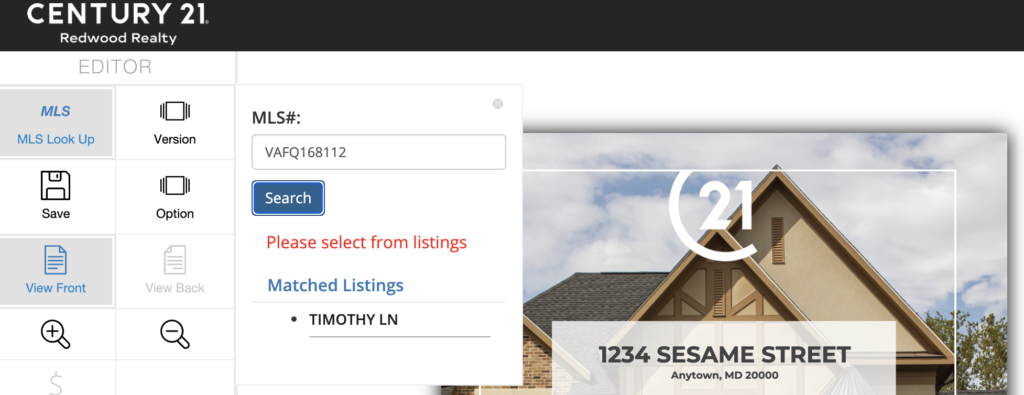
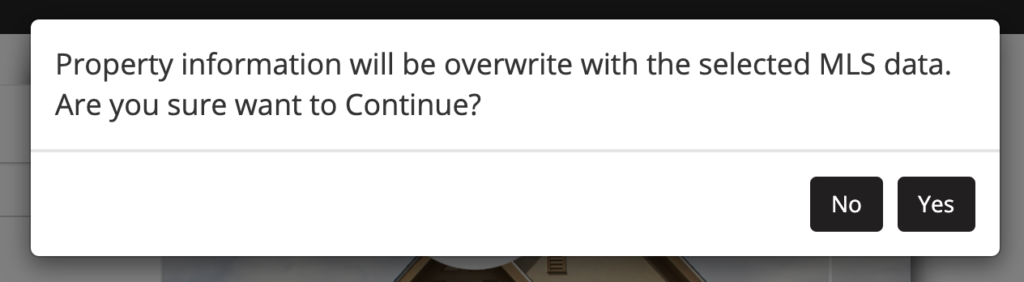
5. Click Yes
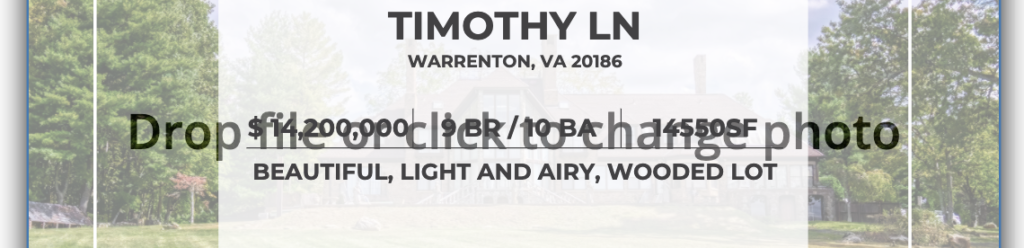
6. To change the photo, hover over the center of the photo and then click on the grey words that say “Drop file or click to change photo”
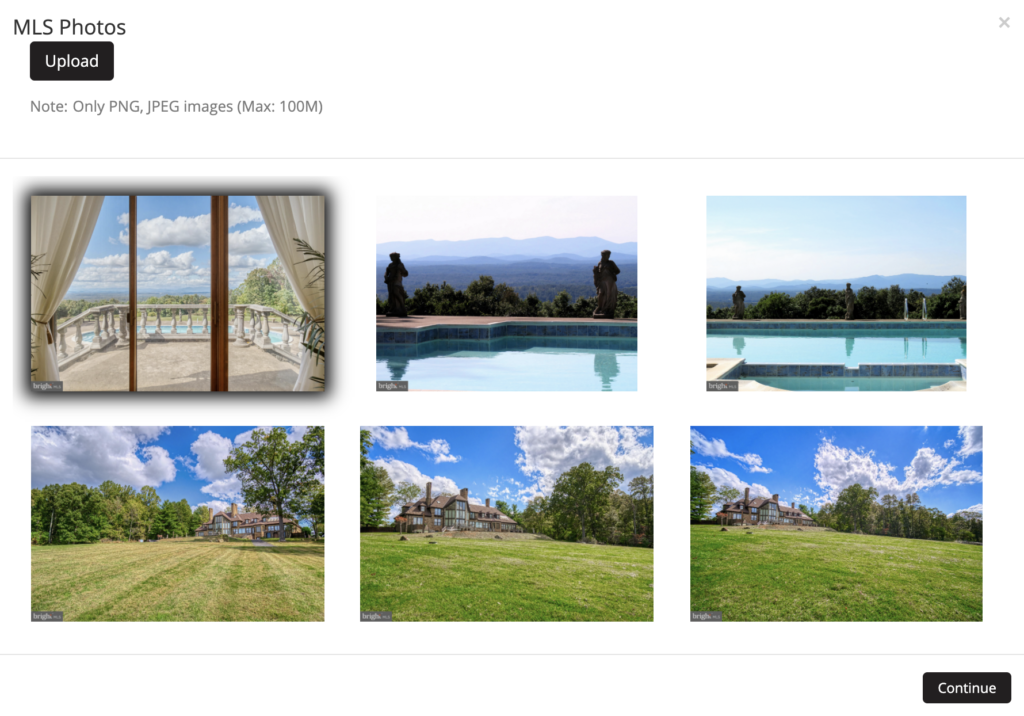
7. Select an alternative photo and click continue
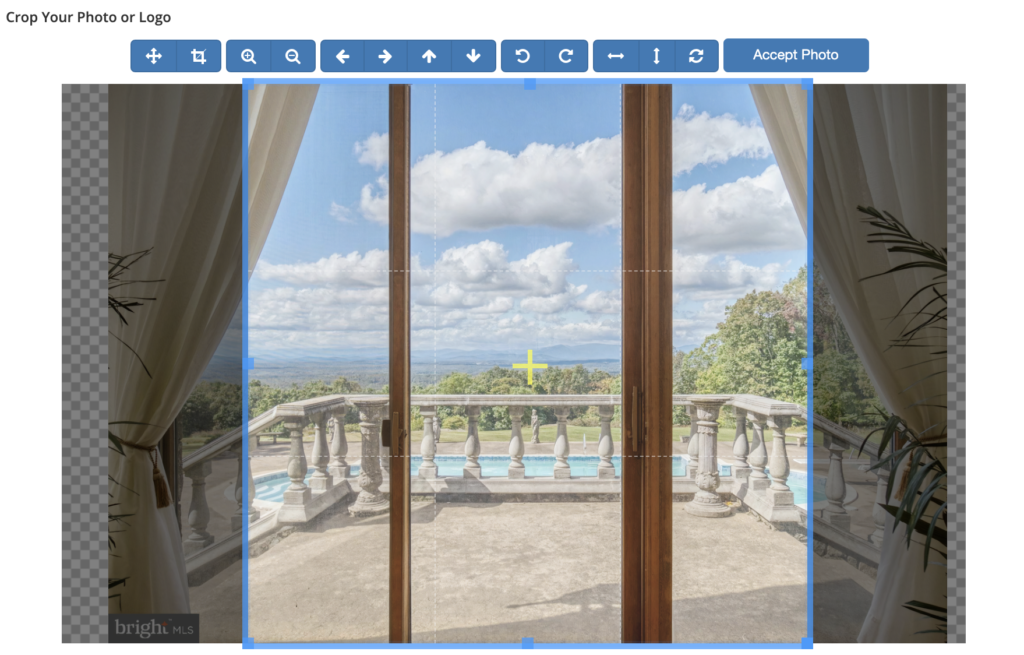
8. Adjust photo as needed and click accept
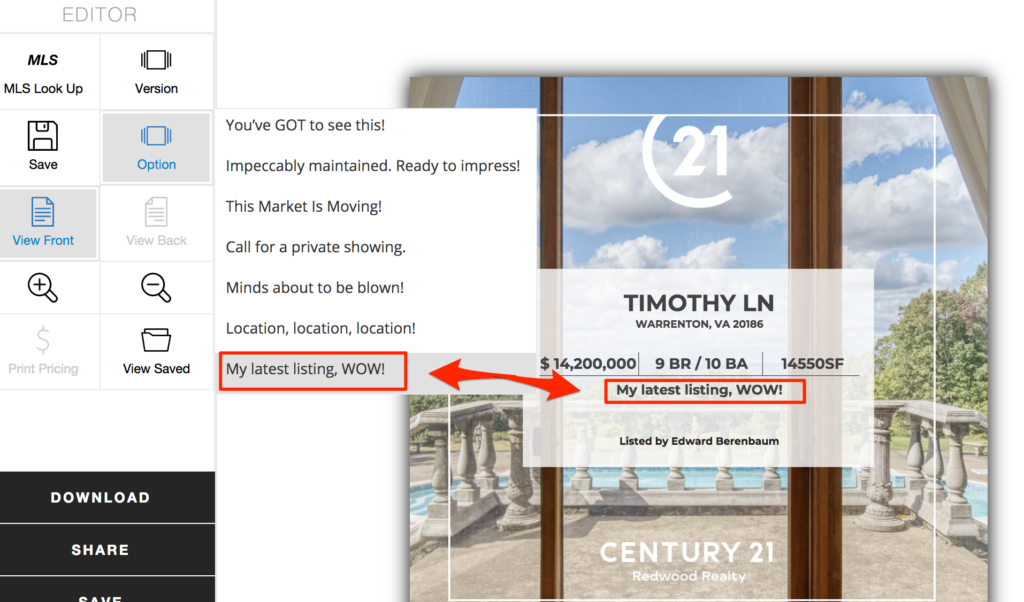
9. Click on the text to edit
** note: prewritten tag lines are available using the option feature on the left side
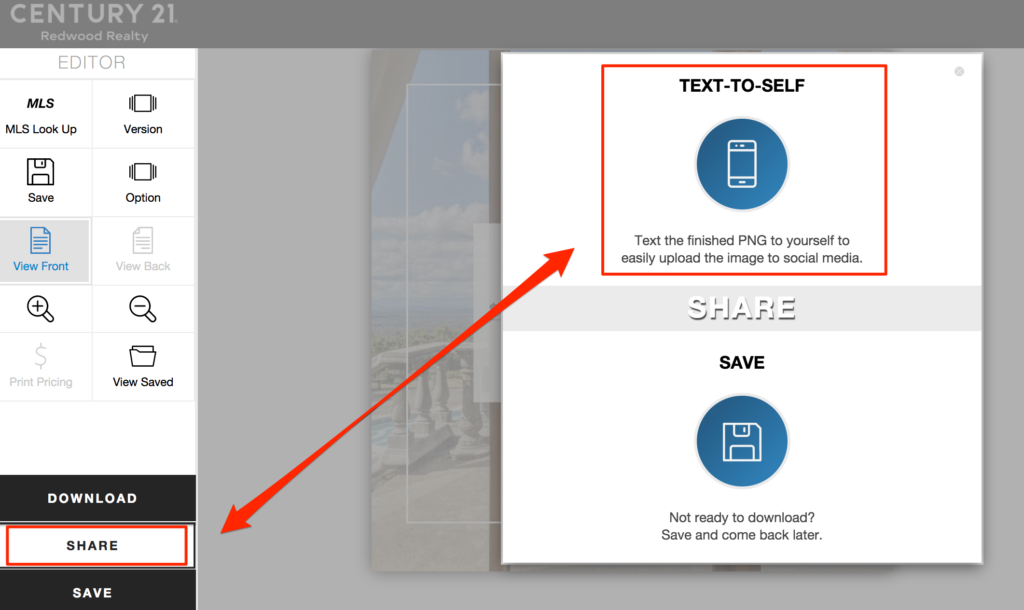
10. When your post is ready, click download in the bottom left to share from your laptop or use the text-to-self feature to post from your phone
11. Enter your mobile phone #
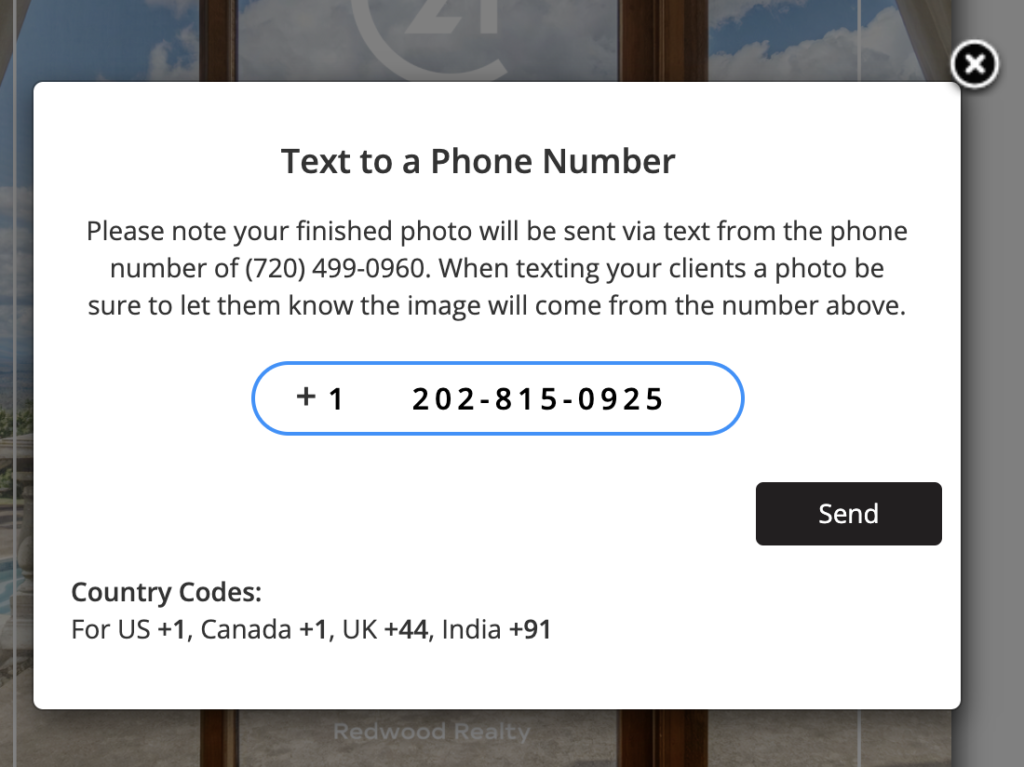
12. The social graphic will be sent to you via text
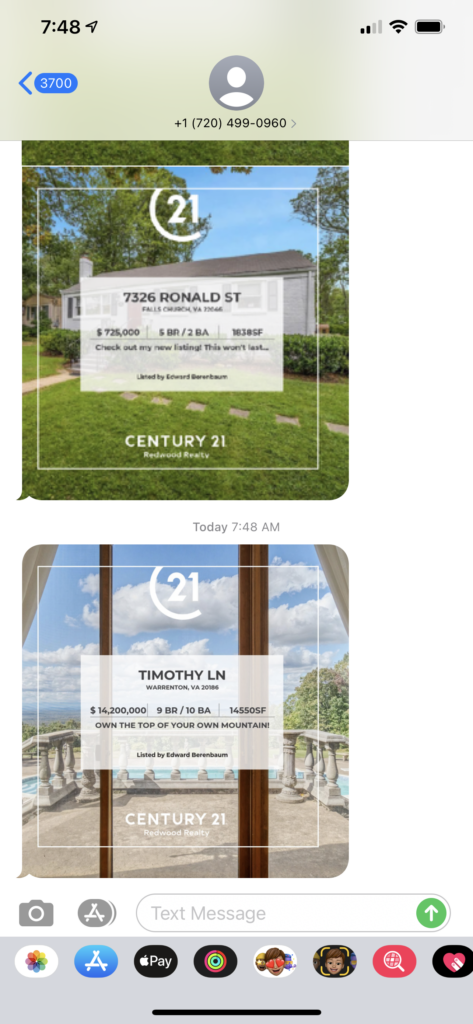
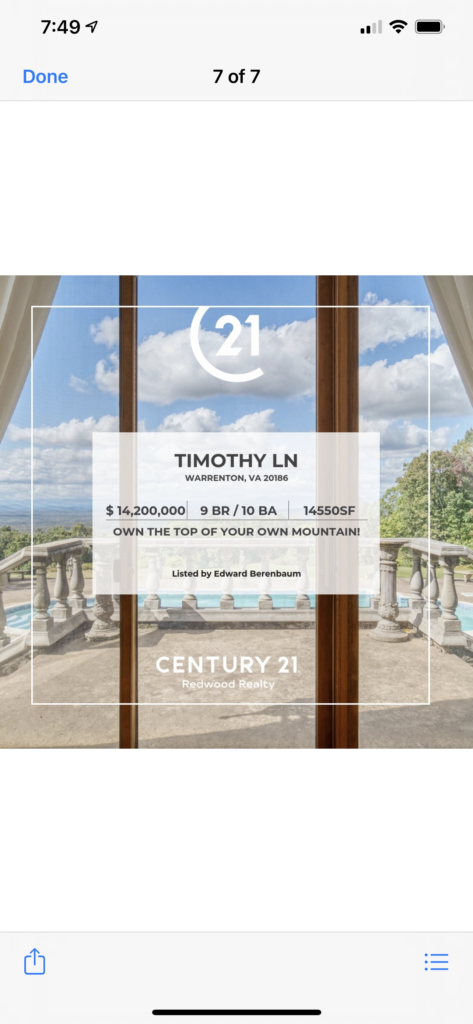
13. Save the image to your phone
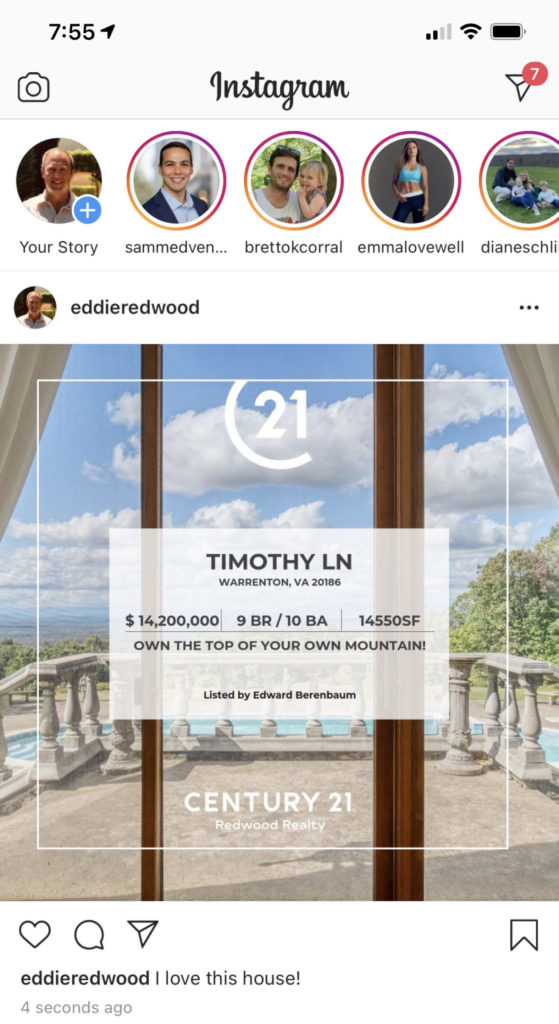
14. Post to social media!
Questions? Please contact 1-866-936-1009 or marketingstudiohelp@c21redwood.com